I recently purchased a 2025 Ford F-150 truck that I am enjoying very much. I traded in my 2013 F-150 using all kinds of justifications but mostly I just wanted a new truck. That could be a story for another day.
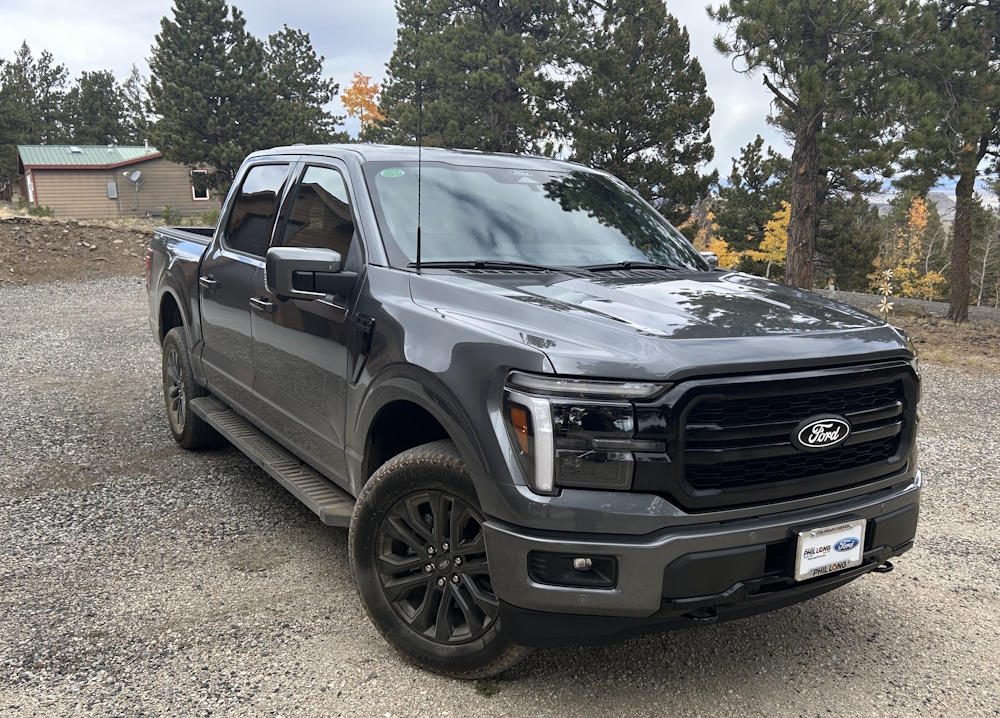
Of course, that brings up the need to install a ham radio in it. I’ve always had some kind of ham transceiver in my vehicle, varying from a simple 2-meter rig to multiple radios and lots of antennas covering all modes, HF through 70 cm. Lately, I’ve simplified my life by focusing on just having a basic FM VHF/UHF radio.
The Radio
My previous vehicles had a dual-receive, dual-band VHF/UHF radio, a Yaesu FT-8800 or similar. See the installation from the 2013 truck. This time around, I decided to go with something simpler, but functional. Looking around the internet, I came across the VGC N7600, which is a unique configuration with the main controls in the microphone plus a smartphone app. I’ve written about mic-centric mobile transceivers before, finding the approach to be interesting. This configuration means I just need to find a place to hang the microphone and put the main transceiver box under the driver’s seat.
Like any radio installation, there are tradeoffs to be made. The mic-centric approach avoids having to find room for a full-size control head but you give up the nice big display. I judged that to be OK, as these days I am mostly listening for SOTA activators on 146.52 MHz, along with the occasional repeater contact.
Take a look at the Ham Radio 2.0 review of this product for more info:
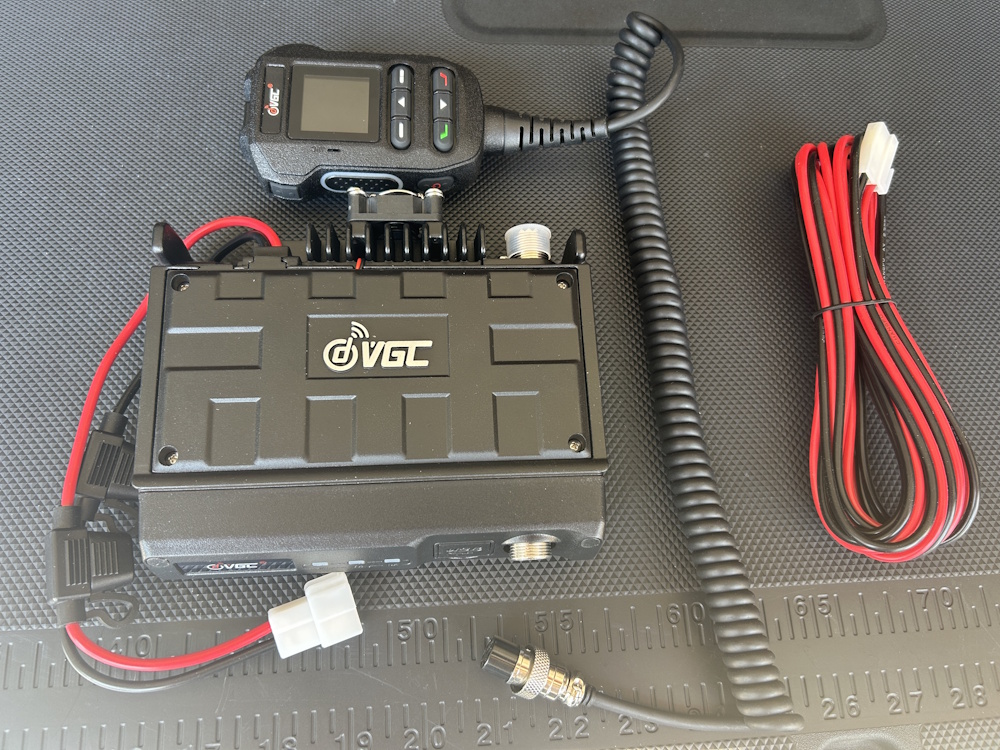
The photo below shows the main items to be installed. I did not use the mobile mounting bracket, because it did not fit under the driver’s seat. Instead, I attached stick-on velcro to the body of the radio, which gripped nicely to the carpet in the truck. This keeps the radio from moving horizontally and the driver’s seat keeps it from going vertical.
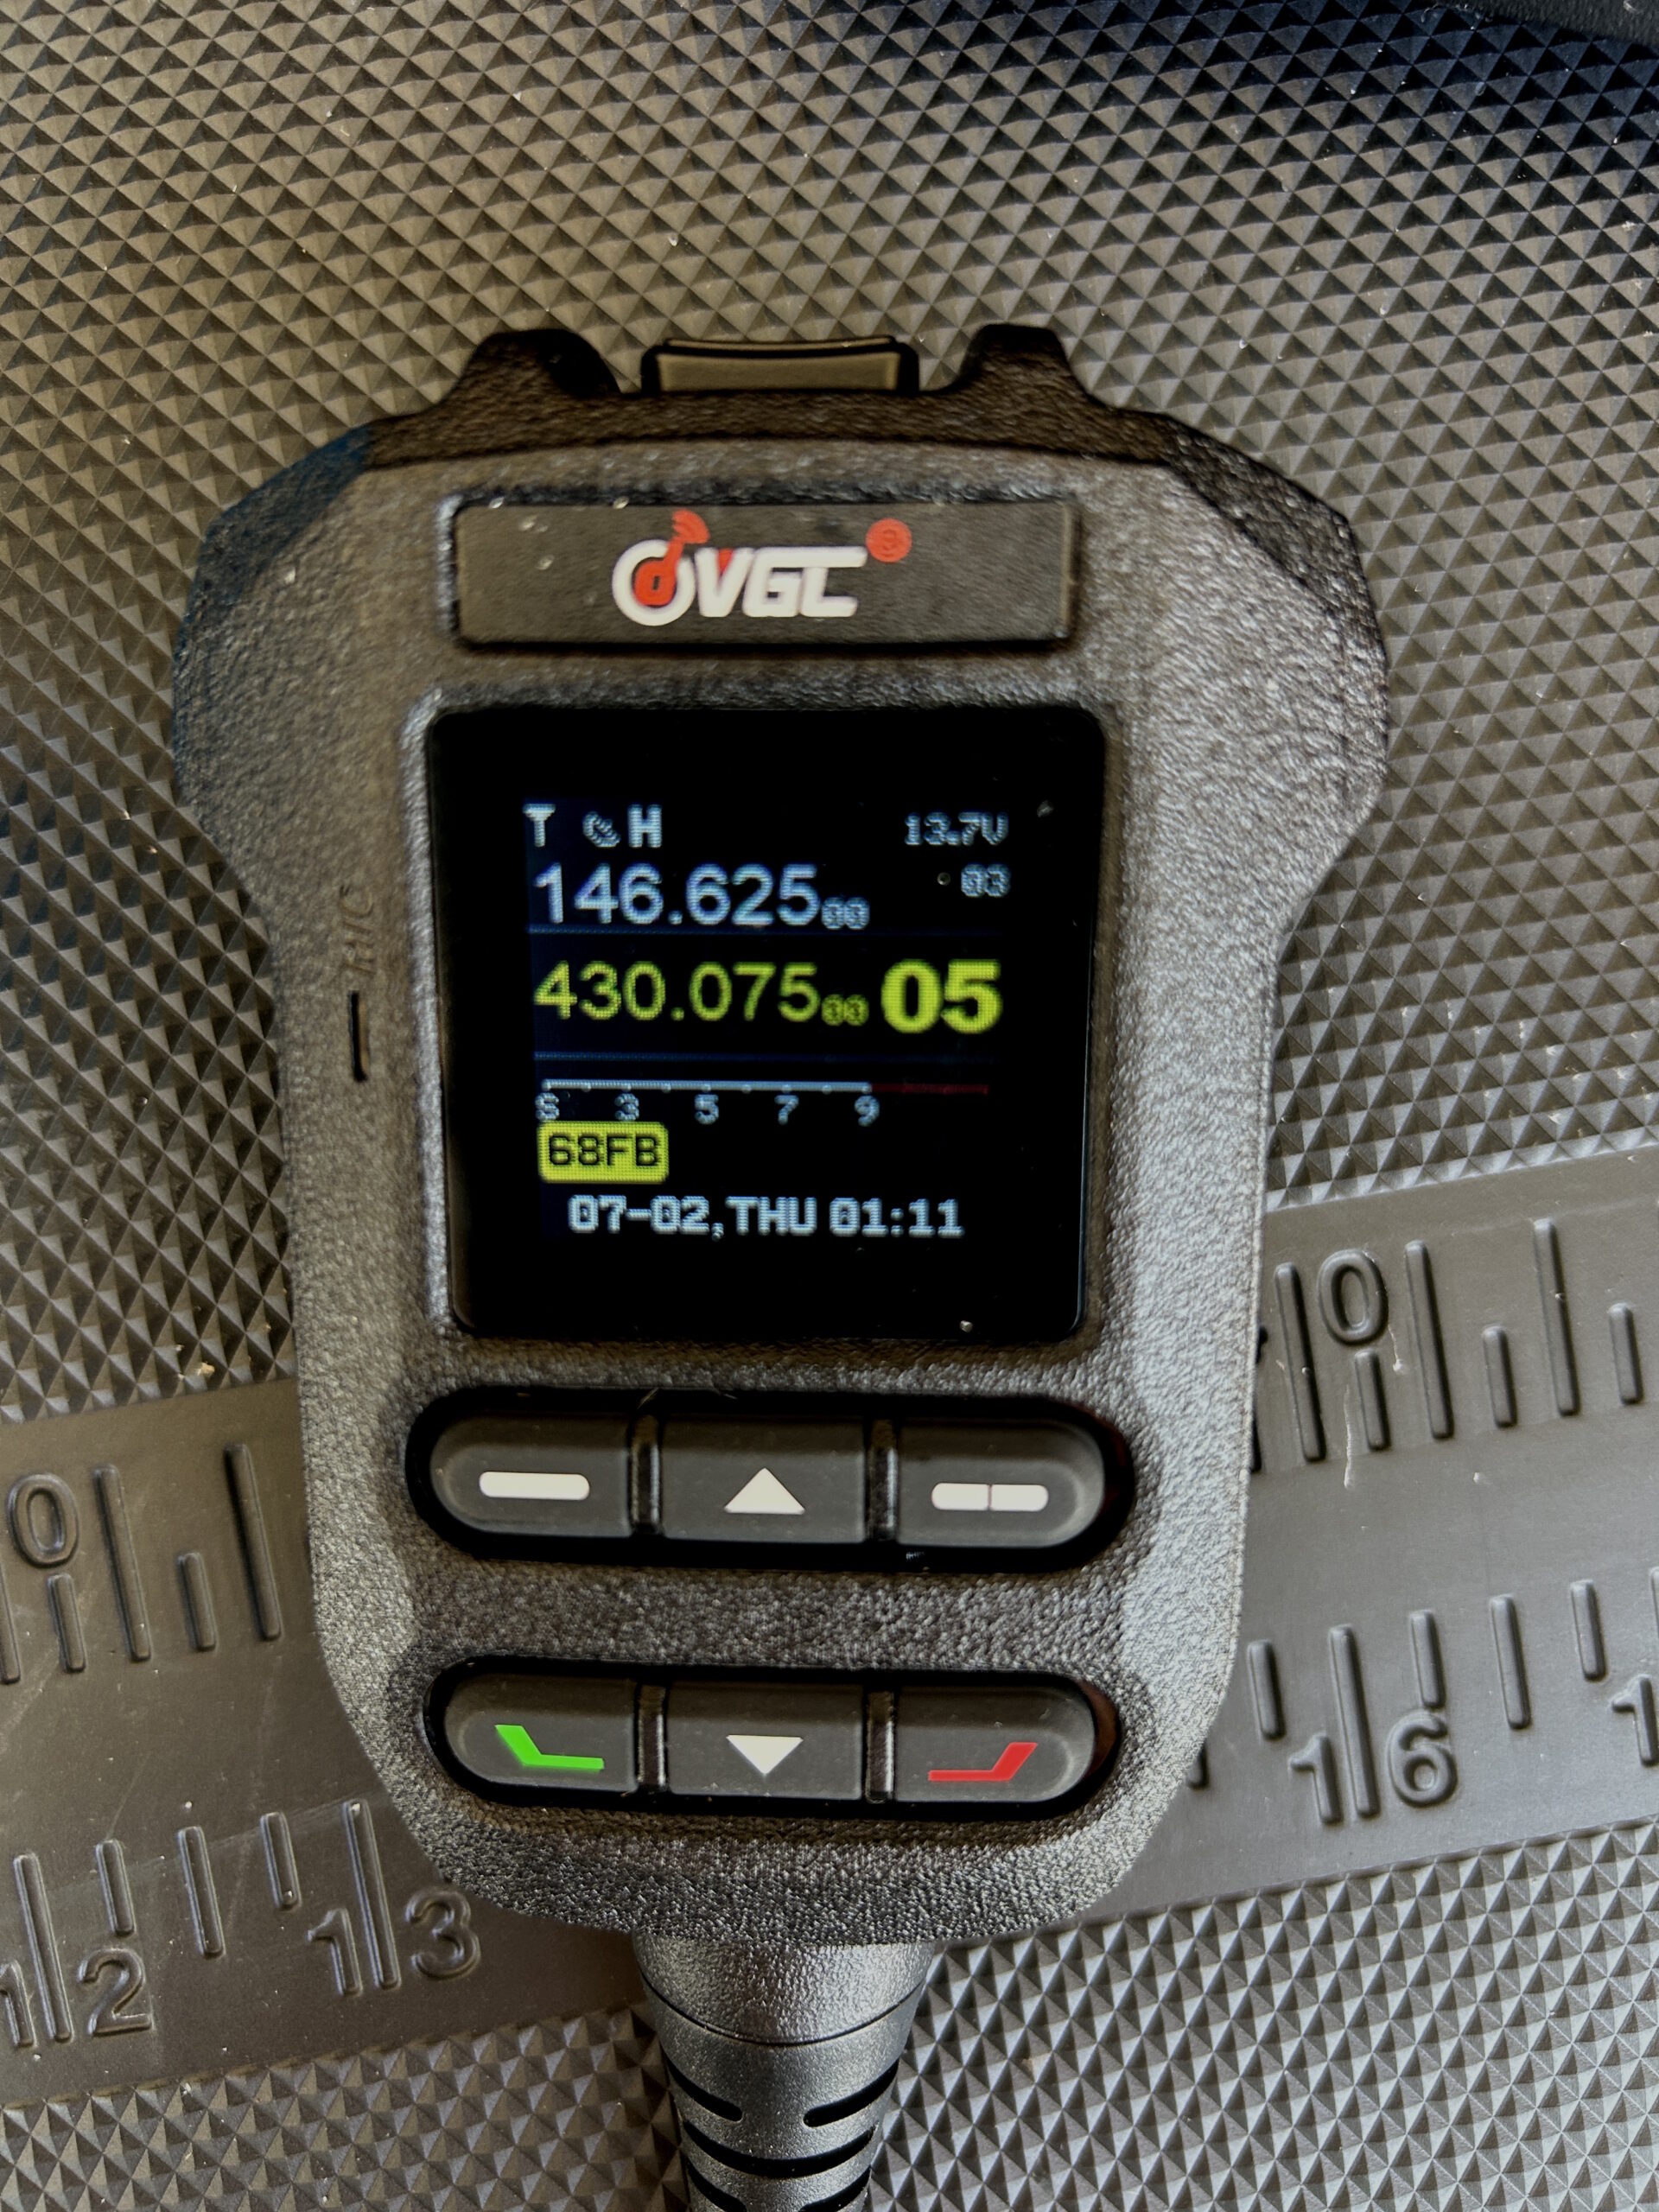
The microphone has plenty of buttons to allow for control of the radio. Several of these are programmable, so you can set them according to your preferences. The audio level is controlled by two up/down buttons on the upper left and upper right. This is not as handy as a knob but it works. Again, we are making tradeoffs.
The radio came with a stick-on microphone holder that reasonably matched the truck dashboard color. I was not too keen on the stick-on approach but I gave it a try and it is working fine so far. I chose a spot on the dash that was easily visible to the driver but out of the way.
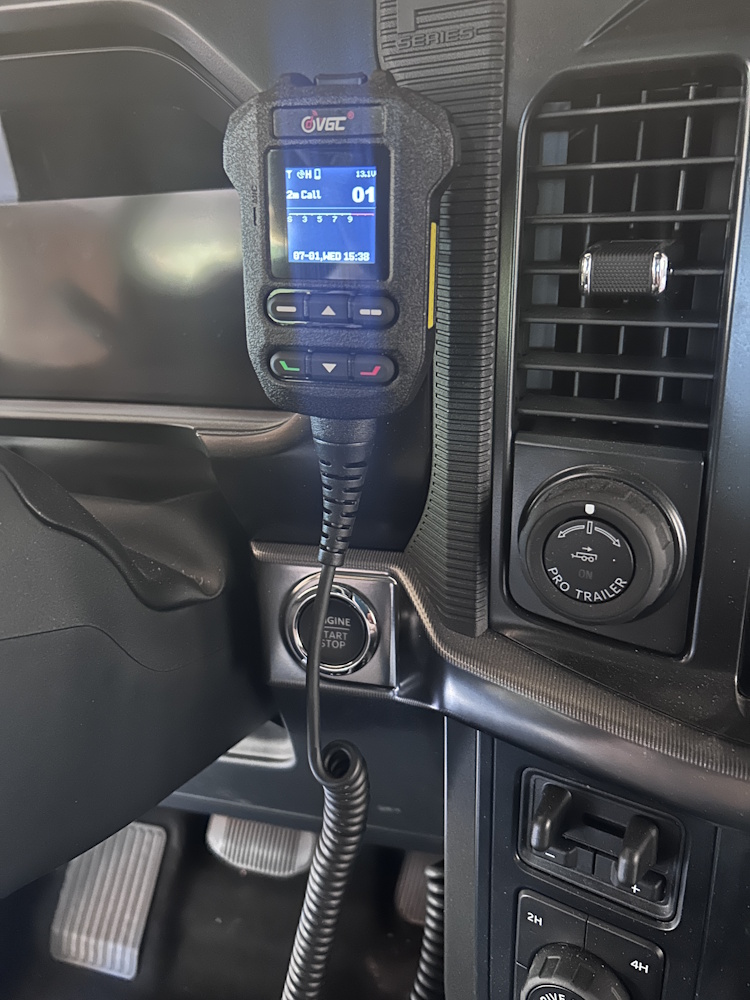
I purchased an extension cable for the microphone, to enable convenient cable routing. Without this, the mic cord would head straight for the radio under the seat without sufficient length. I used a cable clip to secure the mic cable onto the dashboard. (Not quite shown in the above photo.)
There is an optional microphone available, the VGC BHM-88 Smart Wireless Mic, that connects to the radio via Bluetooth. I did not choose this mic because: 1) it has a battery that needs to be charged 2) a mic cable keeps the microphone from wandering off and 3) dang it, microphones are supposed to have cords! In reality, it is probably worth trying out, so that may come later.
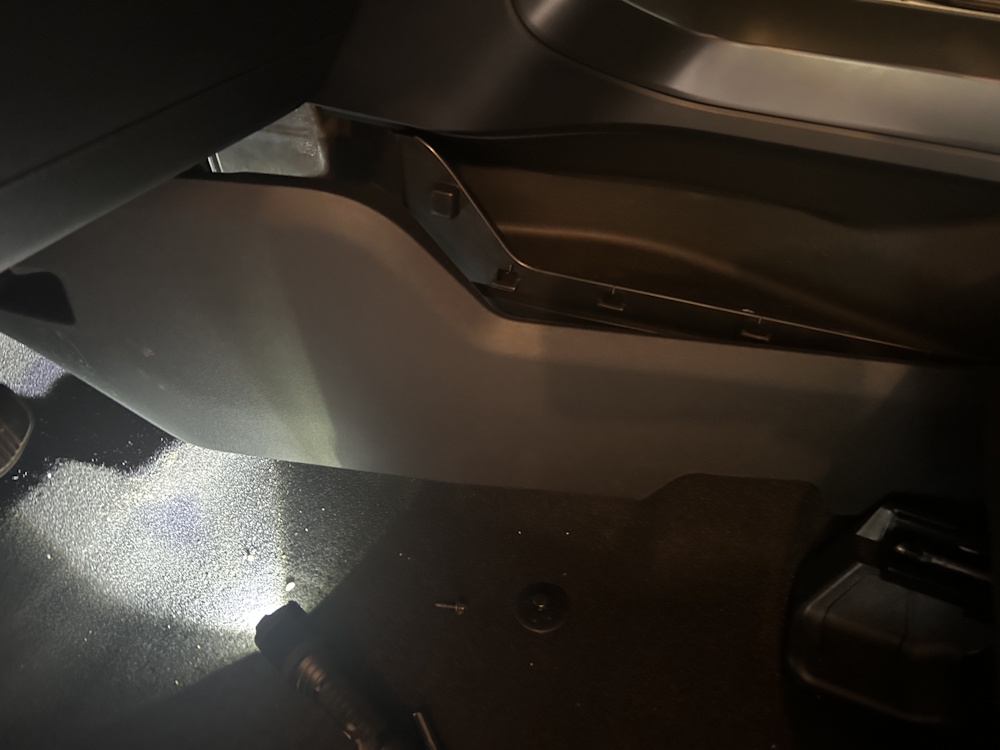
Routing of the cables to the radio turned out to be surprisingly easy. The large plastic panel on the driver’s side of the center console comes loose by removing a single bolt near the front of the panel. Then carefully pull on the panel to unhook the usual panel retainers. This opens up a significant area for routing cables. To get through the firewall, I used an existing large rubberized grommet that had multiple cables running through it, just above the driver’s left foot. Easy to find and punch through… seal with silicone caulk when done.
The Antenna
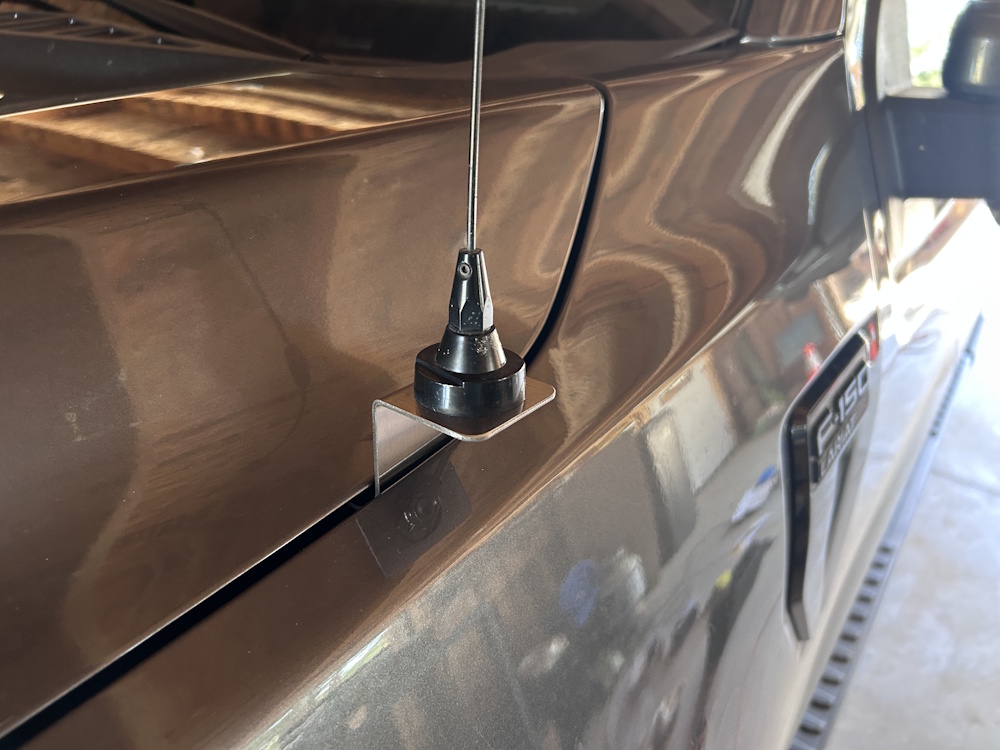
A key decision in any mobile installation is what kind of antenna to use and where to mount it. I repeated the same approach as my previous truck, choosing an mounting bracket with NMO mount, that fits on the driver-side fender. These brackets are widely available for the most popular vehicles.
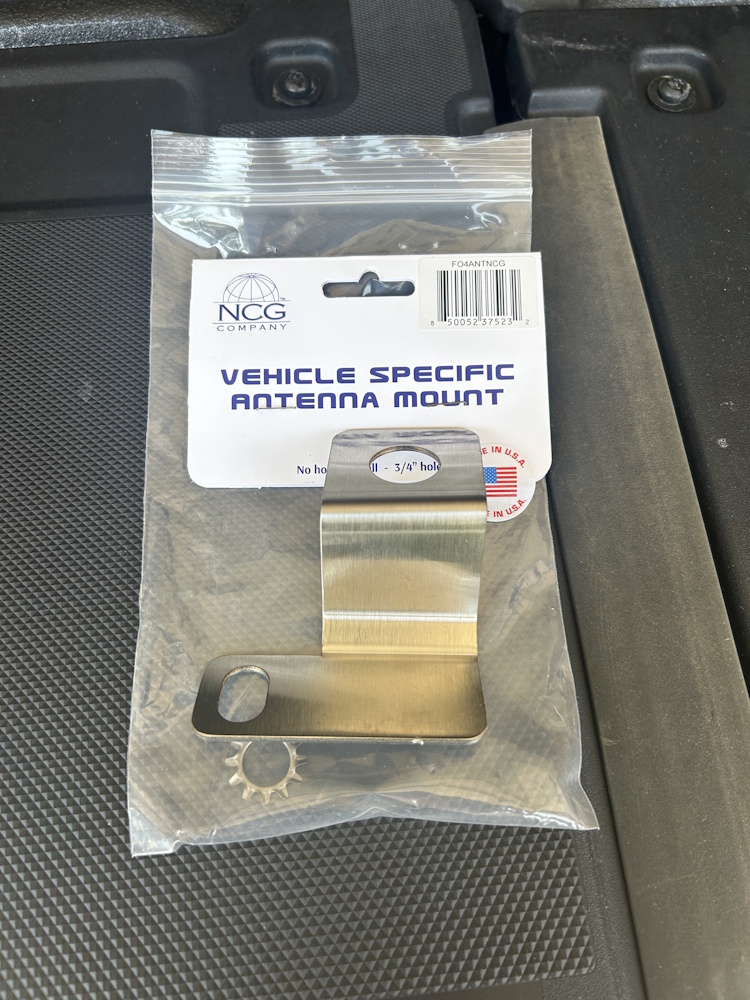
In other vehicles, I’ve found this approach to be an acceptable compromise. Ideally, the antenna would be on the roof of the cab, which would radiate a lot better. But it would not clear my garage door. Another option is to mount the antenna in the “stake pocket” at the rear of the truck. This potentially interferes with loading/unloading the truck, so I decided against that.
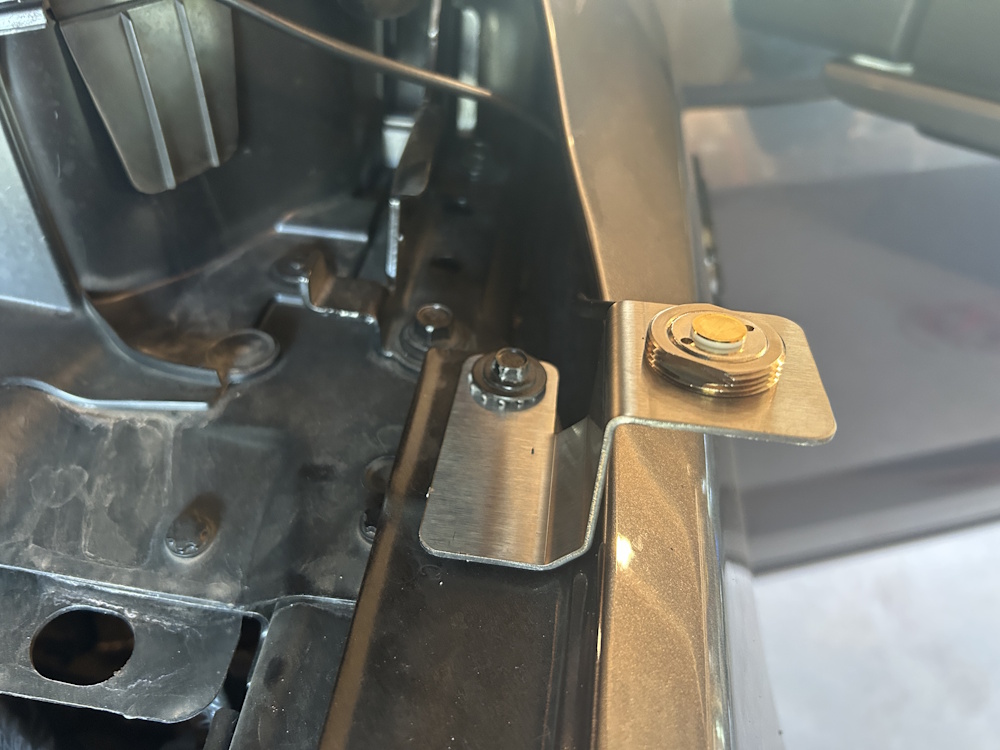
I used the standard NMO antenna mount with the mounting bracket. The antenna is a common 2m/70cm one, about 19-inches in length, with a coil in the middle to enable 70 cm operation. I have other NMO antennas I can put there and may try some of those out. I tend to use the smaller antenna to minimize tree-whacking when driving off road.
I routed the DC power cable from the radio, through the firewall, connecting it to the battery. Like most modern vehicles, the F-150 has an Intelligent Battery Sensor (IBS) that monitors the current flow in/out of the battery. The ground wire to the radio should be connected to the “other side” of the IBS, away from the battery, connected to the vehicle chassis. That way, the radio current is detected by the sensor. The positive wire can go directly to the battery connection.
How It Performs
I’ve been using this setup for a few months now and I am pleased with it. It is a clean install that does not affect the operation of the truck. Most people won’t even notice that a radio is there. The position of the microphone has worked out well, easy to see and easy to grab. I do miss having a larger display of the channel and frequency. Again, tradeoffs.
The microphone includes a speaker in it, and the audio sounds good coming out of it. I had assumed that I would attach an external speaker to the main radio unit but so far I am just using the mic. The truck is relatively quiet and the microphone is not too far from my ears…seems to work.
I have the associated app installed on my iPhone, which is normally sitting in its holder. The app has turned out to be quite handy, allowing me to adjust the volume, squelch, channel, power level, etc.
I am picking up some low-level RFI from the truck on the 2m band. I have done some troubleshooting on it but have not improved it. The noise appears to be present all of the time, not just when the truck is turned on.
Advanced Features
When I selected the radio, I had focused on the mic-centric approach to provide basic dual-band operation. What I learned is that VGC has gone beyond this by using a smartphone as part of the system. The radio is actually app-centric with the mic-centric feature thrown in as a bonus.
This app-centric approach includes: Bluetooth connectivity, PTT & audio capability, channel management, all radio settings, firmware updates, GPS, APRS, mapping, network radio connections, and much more. I have only scratched the surface and will be having fun figuring out what this radio actually does.
73 Bob K0NR